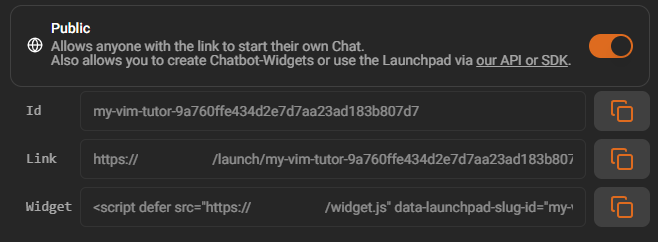
The fastest way to get started with Norlax is to provide a public launchpad. This is our no-code solution that allows you to enable generative AI for your use case in minutes.
A public launchpad is similar to the well known Custom GPT's from OpenAI. Once created it can be made accessible via a public URL and can be used by anyone. At its core it is providing a Chat UI to interact with the configured AI. You can learn more about launchpads in the Launchpads section.
Lets's say you want to provide a simple Vim Tutor for your team that can generate small Vim lessons on the fly to keep your teams Vim skills sharp, without your team needing to signup themselves on Norlax.
+

Add
System Message
Generate a *knowledge*-level Vim lesson on *topic*.
The lesson should include necessary Vim commands,
the count of these commands, a sample code block
in Javascript using Next.js framework, and step-by-step
instructions to complete the lesson. The lesson
should be suitable for the vim extension in the
monaco web editor. So, things like closing vim and
writing to files do not apply. Consider this as you
design the lessons.

*knowledge* is a placeholder for: beginner, intermediate, expert.
*topic* is a placeholder for the topic that the lesson should be generated for.

If not given, ask the user for the necessary information to generate the lesson.
11. We then choose our base model that should handle the user requests by
clicking on
the bottom right button. In this case we choose the GPT-4-Turbo model.
12. Finally we hit
Save
Launch
You can extend your launchpad further by adding custom functions, documents, and more. You can learn more about these in the href="/topics">Topics section.